The Wiki for Tale 4 is in read-only mode and is available for archival and reference purposes only. Please visit the current Tale 11 Wiki in the meantime.
If you have any issues with this Wiki, please post in #wiki-editing on Discord or contact Brad in-game.
Difference between revisions of "Beetle Breeding Guide"
| Line 158: | Line 158: | ||
[[Image:Chains_Lines_example_cut_.jpg]] | [[Image:Chains_Lines_example_cut_.jpg]] | ||
| + | |||
| + | * '''Squares''' | ||
| + | |||
| + | A mutation from my Cross types, this is the only one I have and is male so unlikely to reproduce the pattern (I will try though). Seen them before in Tale 3. | ||
| + | |||
| + | [[Image:Squares_Cut.jpg]] | ||
Revision as of 15:33, 28 August 2009
Content copied from the T3 wiki
- Pictures of the wild varieties Beetles
Unfortunately Dr. Dave, the all-time best beetle expert, no longer plays.
Hints for Improving Beetle Breeding
These guidelines on beetle breeding assume the player has access to only one Khefre's Locker. There would be some additions made to these guidelines if greater storage access were possible. The guidelines described below were developed after more than 10,000 beetles in T2 and (so far) still apply to breeding in T3.
The goal of beetle breeding is to produce a clean pattern (see page of various clean beetle pattern types) that will be pleasing to the judges. Of course this is art, so what is pleasing to some is not pleasing to all. I personally think it should be pleasing to you and that you should enjoy the process of creation. In addition to a clean pattern (no extra dots, dashes or broken pieces) the beetle should have good color contrast. In order to get a clean pattern and good color contrast the player needs some control over color and pattern.
Starting Off
There are basically two ways to set up the beetle terrarium to help control for pattern and color. At the very start of breeding your aim should be to head toward getting these two terrariums established.
- Terrarium 1: Male Pattern Terrarium (MPT)
- Terrarium 2: Female Pattern Terrarium (FPT)
These will contain 2 males and 9 females in each. The first terrarium should be set-up as follows:
- Male – native, 100% ownership, plains
- Male – native, 100% ownership, speckled
- Female – native, 100% ownership, burrowing
- 8 females of solid colors
You can either generate the solid color beetles over time, or borrow them (when you generate your own you will no longer need to use the borrowed ones).
The breeding process will generate more males than females and it will take time to set-up the FPT. Its set-up is as follows:
- Male – native, 100% ownership, burrowing
- Male – solid color (generated from MPT or borrowed)
- Female – native, 100% ownership, speckled
- Female – native, 100% ownership, plains
- 7 Females with patterns (generated from MPT or borrowed)
This use of the MPT and FPT set-ups can be expanded to 4 terrariums (44 beetles) leaving just enough room in your locker. I like to have a 5th terrarium that I use to help with sorting – comparing beetles that I want to keep and mulching the others.
Gradually you will want the MPT and the FPT to have the following set-up:
MPT: 2 male beetles with similar patterns (don’t mix patterns in the early stages) 9 female beetles of solid color (watch for hidden patterns under the color)
FPT: 2 male beetles of solid color 9 female beetles with patterns (initially these will be mixed patterns)
The third and fourth terrariums can follow the MPT/FPT set as your needs dictate.
Beetle Rotation
In addition to the MPT/FPT set-up, proper beetle rotation is critical for good breeding. There are several different goals to consider when rotating beetle in and out of the MPT/FPT set-up:
- Increasing percent ownership – rotate in beetles with a higher ownership, but CAUTION, do not sacrifice your favorite pattern or color to do this.
- Cleaning, or perfecting, a solid color – look closely at a solid color beetle and there will often be some hidden pattern or minor dot/slash.
- Different colors – rotate to improve the quality of the color of your solid beetles (bright, dark, hue, saturation).
- Cleaning, or perfecting, a pattern – this is where most of the rotation occurs. At the start most patterns are either mixed or not mutated enough or both. In general rotation for patterns is done a) to extract something from a mess, b) to relocate an existing pattern or c) to mutate a pattern (see below).
- Changing colors – rotation can be used for changing the color of the background or the color of the pattern.
Pushing the Mutation
This is probably one of the hardest part of beetle breeding to grasp. There is an element of “genetic mutation” built into the breeding process. It is possible to “push” a pattern toward mutation. CAUTION – do not do this on your favorite beetle pattern without a back-up copy. The best way to push the mutation is with 2 males and 9 females that all have very similar patterns. This is called the MFPT set-up.
The MFPT can be used for the following:
- Changing a desired pattern – you can change the location or arrangement of a desired pattern.
- Mutation of a pattern – you can “push” the pattern to mutate into another pattern.
- Mixing patterns – you can take two different patterns and mix them for special effects (some examples on T2 page).
In all three of these cases skilled rotation is important. You are looking for the “right” direction in which to push the mutation. Often mutations occur as very small changes. If you see this you might wish to rotate it in and breed with it for a while. Sometimes when a pattern is about to change it will “fall-apart”. You may want to breed with this “broken” or “fuzzy” pattern for a while to see what happens. Again CAUTION – if you have a pattern you like save a back-up beetle so it is not lost while pushing the mutation or mixing patterns.
I would not use the MFPT set-up with patterns that are not clean.
Some patterns are quite resistant to mutation. There is a random element involved, but a good set-up and skilled rotation (check at least every 20 minutes) can make the breeding process more enjoyable.
- Some notes I would add to this are, if you like a pattern but its only on one beetle breed it with plain colours to get a copy or two.
- Breeding similar patterns of opposite sex works and dont be afraid to chuck a few variations in together to see what happens.
- If you like the colours on a beetle but not the pattern (or the pattern is broken), breed it with plain colours and more often than not you get plains with those shades that you liked (this will also fix broken patterns).
- A lazy persons breeding scheme which i havent tried but was told works is, fill the terranium to max with cabbages - 10,000 then leave the beetles you have in there to breed, come back in a few days and take the one you like to the Beetle Garden...
- Happy Breeding - http://www.atitd.org/wiki/tale3/Users/Mortality
- Guild members of Beetle Mania have come to the conclusion that beetle patterns are Fractual in nature.
Tale 3 Pictures
[[1]]
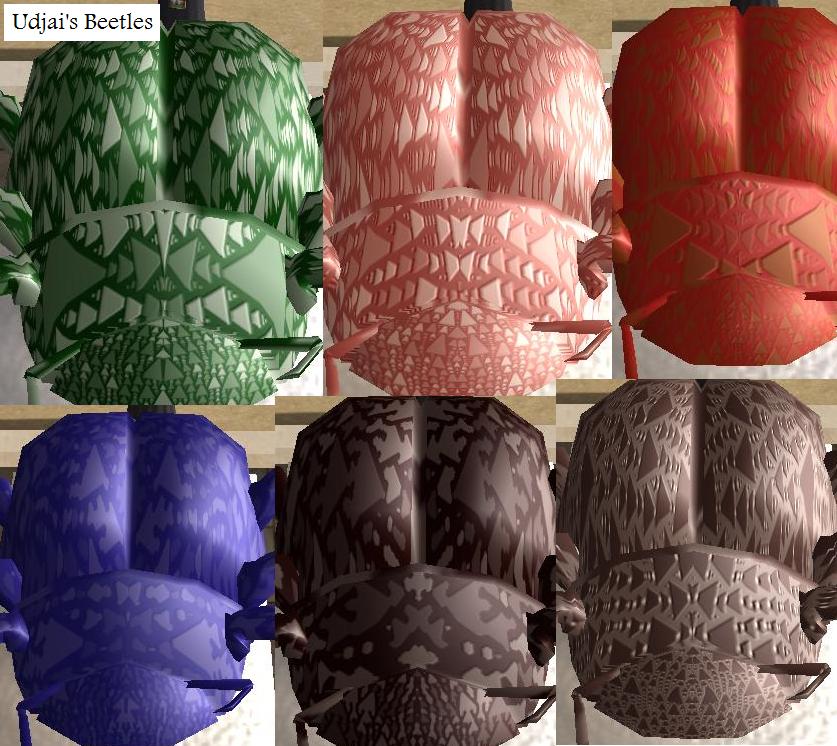
Pattern Examples Tale 4
- Triangles
Triangles for me tend to be the first pattern I get and we see these most often in the level 1 beetle gardens. The bottom 3 Triangle pictures show the pattern changing.
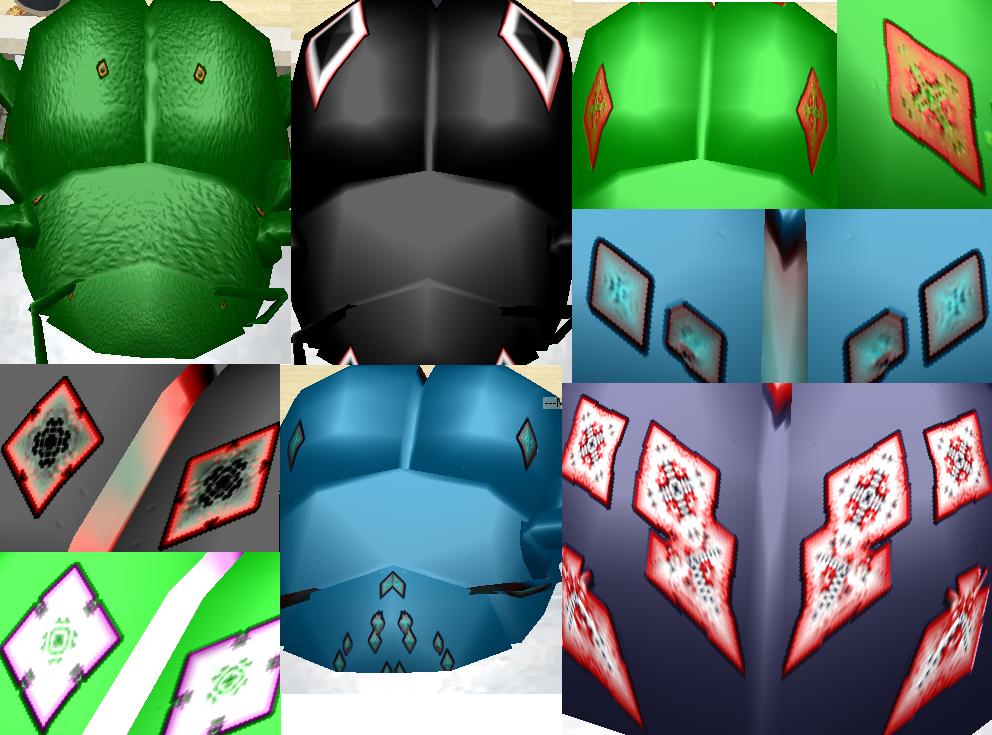
- Diamonds
Lots of players have asked me what they need to look for to develope patterns and winning beetles from. The first beetle picture shows just such an example a nice clear small diamond, that through careful breeding can change into a variety of patterns (see the other pictures).
Basically you take your small diamond patterned beetle and breed it, the patterns can become larger, more colourful and more defined.
Nice Diamond Pattern from a Level 2 garden.
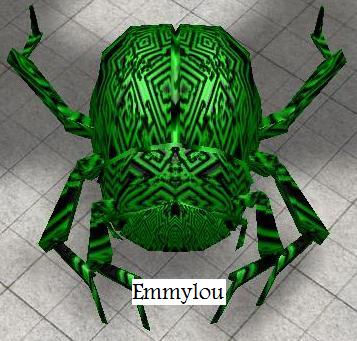
- Maze
Variation to the Diamond pattern, going to call it the 'Maze' pattern. Saw it in the level 2 SA garden.
- Crosses
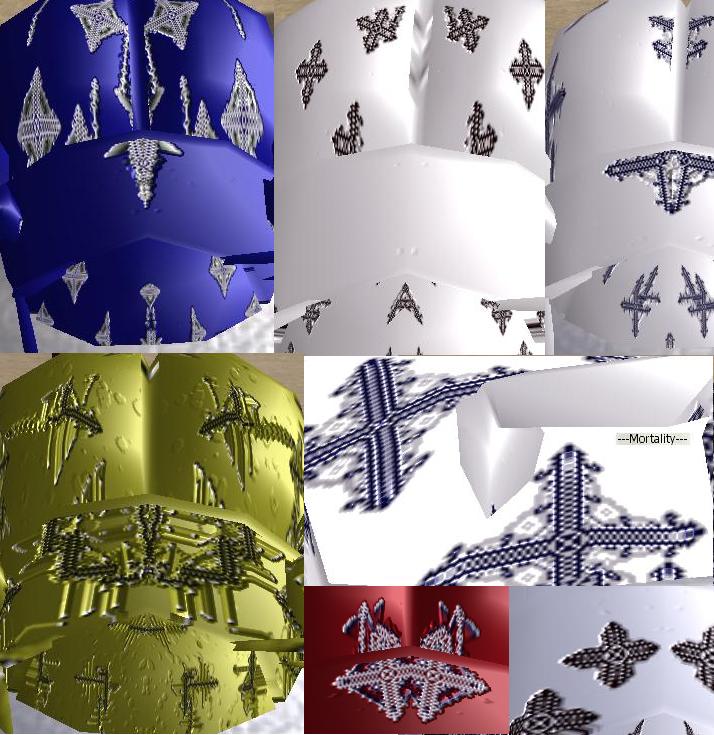
Crosses for me came from continued breeding with the Diamond types. The golden coloured beetle in the picture shows an alteration to the pattern where the crosses become elongated and change into lines or chains (see the blue beetle).
- Ovals
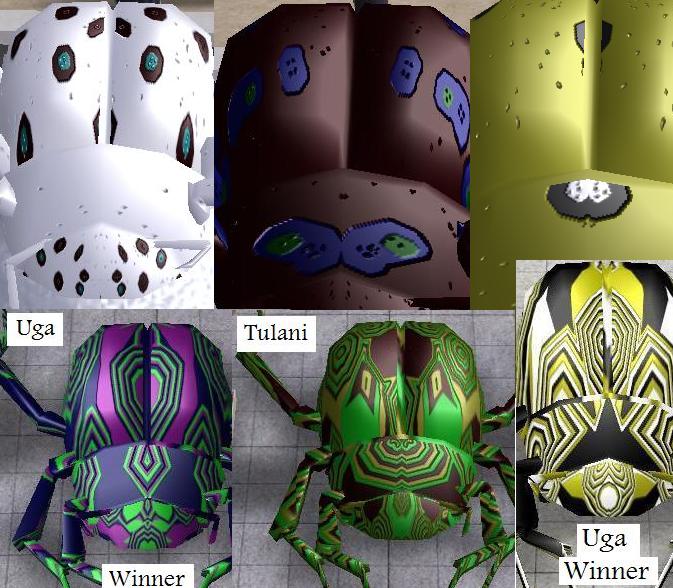
For me continued breeding of the diamond patterned beetles produces 2 further pattern types, Crosses and Ovals. The top 3 pictures show my very rough and early oval patterns, the lower 3 are very developed ovals bringing out more inner colours.
- Wedges
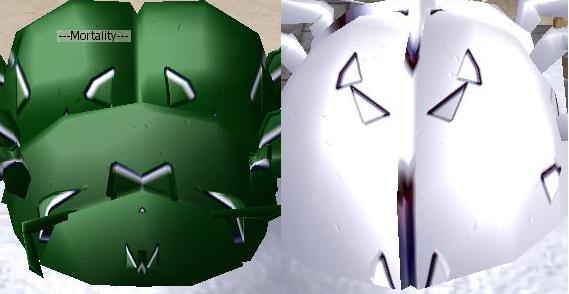
I got a few Wedge patterns like this when the Cross types I had, started spreading out into lines. I presume they are throw backs to the Triangles patterns.
- Curls
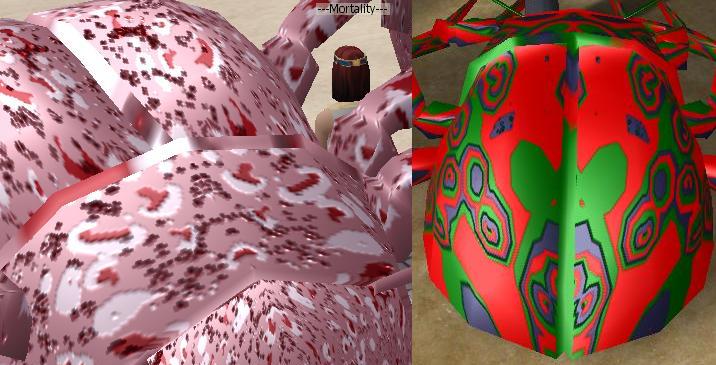
The first picture of the pink beetle shows small rough curl patterns appearing. The second picture is from a beetle garden showing a beetle with both Oval and Curl patterns.
- Lines
I have a few beetles, where the Cross patterns are beginning to spread out into lines. The red beetle picture is one of those, the other picture is a beetle from a garden showing a well developed and colourful line pattern.
- Mono Coloured Smooths
Smooth beetles like these turn up from breeding at any time and have been known to win at at least level one gardens. Sometimes if the colour is unusual it might be worth breeding it with a patterned one to produce different pattern shades.
- Mixed Patterns
A mixture of Diamond, Cross and Wedge patterns, thank you Lill for your suggestion of breeding all patterned beetles together, worked a treat.
- Chains and Lines
Elongated Cross patterns that have become Chains and Lines (see above).
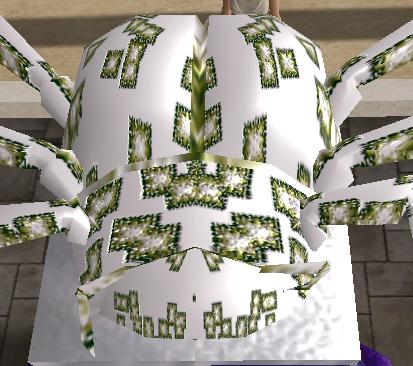
- Squares
A mutation from my Cross types, this is the only one I have and is male so unlikely to reproduce the pattern (I will try though). Seen them before in Tale 3.
