The Wiki for Tale 6 is in read-only mode and is available for archival and reference purposes only. Please visit the current Tale 11 Wiki in the meantime.
If you have any issues with this Wiki, please post in #wiki-editing on Discord or contact Brad in-game.
Difference between revisions of "Glass Blowing"
| Line 12: | Line 12: | ||
*D - Discard the project, destroying the materials | *D - Discard the project, destroying the materials | ||
*B - Blow into the tube | *B - Blow into the tube | ||
| + | |||
| + | ==Timing and Rotation== | ||
| + | Heat and sag are applied to the project approximately every 77 ms (~13/second). Each rotation is approximately 28 degrees (~13 rotations to do a full circle). ([[Gyges]]) | ||
==Thermometers== | ==Thermometers== | ||
Latest revision as of 06:01, 30 January 2012
WARNING: The Push and Pull hotkeys are reversed on the menu from the way they actually operate. A is push (into the GH), S is pull (out of the GH). Also, like all buildings with hotkeys, your mouse cursor must be touching the actual building in order for the hotkeys to register.
Hotkeys
- G - Goal Display
- A - Moves the project into the glory hole
- S - Moves the project out of the glory hole
- Q - Check the current quality
- N - Rotate counterclockwise
- M - Rotate clockwise
- U - Unload (complete) the project
- D - Discard the project, destroying the materials
- B - Blow into the tube
Timing and Rotation
Heat and sag are applied to the project approximately every 77 ms (~13/second). Each rotation is approximately 28 degrees (~13 rotations to do a full circle). (Gyges)
Thermometers
Requires: 1 Glass Pipe, 1 Quicksilver
You must have Advanced Glassblowing & Basic Chemestry for thermo to show up in the gloryhole list.
Method
Ariella
- Standard Heat
Make sure that your chat is minimized and that you PUT YOUR CURSOR ON THE GLORY HOLE before starting your keystrokes.
- aaaaaaaaaa sssssss mmmmmmmmm bbbb mmmmmmm q mmmm u That's about it.
- 'a' held down to push it in clear to the back.
- Hit 's' EXACTLY 7 times to pull it back out.
- Rotate hitting 'm' til you see the frontish part turn a bit yellow.
- Hit 'b' EXACTLY 4 times to blow the bulb.
- Rotate with 'm' again until your pinky can hit 'q' to check the quality.
- Keep checking until it's over 3500 and hit 'u' quick as you can after you see that.
- TO REPAIR and bring less than 3500 quality up
- Rotate until droop of bulb is pointing up and stop rotating a couple clicks to let it droop back to normal while hitting 'q'. You can often improve the quality enough to save it this way. ~Ariella~
Hookah Bowl
Requires: 1 Fine Glass Rod
Methods
- Pin Point Heat
- Constantly spin to keep entire piece centered (there is a correct rhythm to spin it's not just spinning as fast as you can)
- Start the bowl shape at the bottom
- Move the glass in 2 times
- Move the glass in 3 times pausing between each
- blow 4 times
- Move the glass all the way inside the glory hole
- Make the mouth of the bowl
- Move the glass out 5 times
- blow 2 times
- Move the glass out 2 and then in 2 (turning the section just under the mouth brown/orange not yellow)
- blow 4 to 6 times
- Make the ridged middle body of the bowl
- Move the glass out 2 times
- Move the glass out 3 times (very quickly) (pause 'till this section is orange)
- Move the glass out 1 time (pause 'till orange)
- Move the glass out 3 times slowly pausing such that each segment just barely turns yellow (you want these 3 segments to heat up at the same time, so as you get better you can go back and forth over this area)
- Repeat over the next 3 segments
- Blow 2-3 times
Distillation Coil
Requires: 1 Glass Pipe
Methods
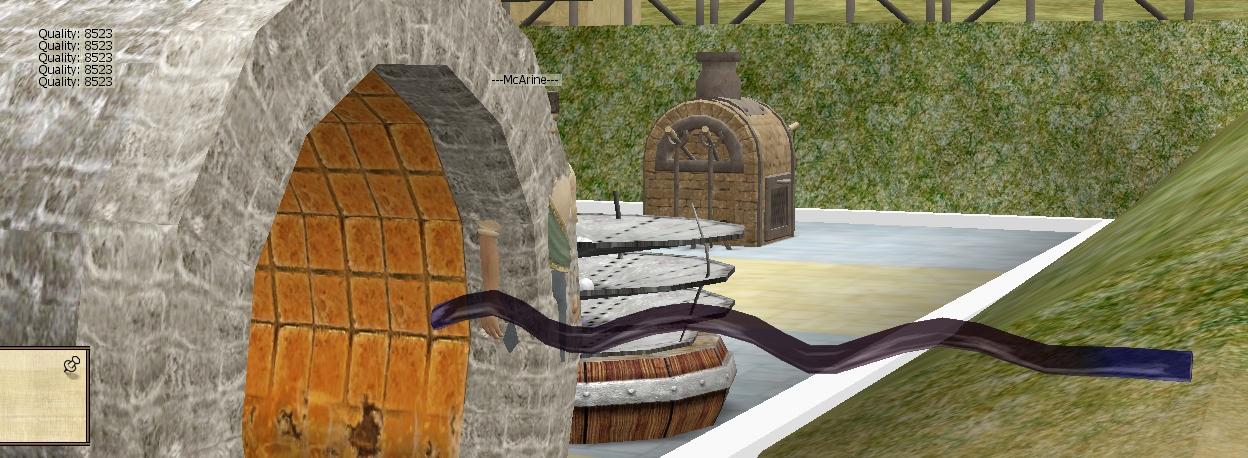
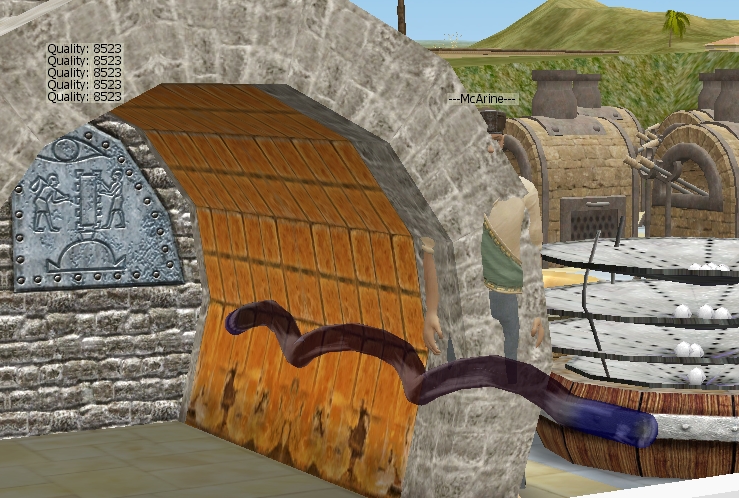
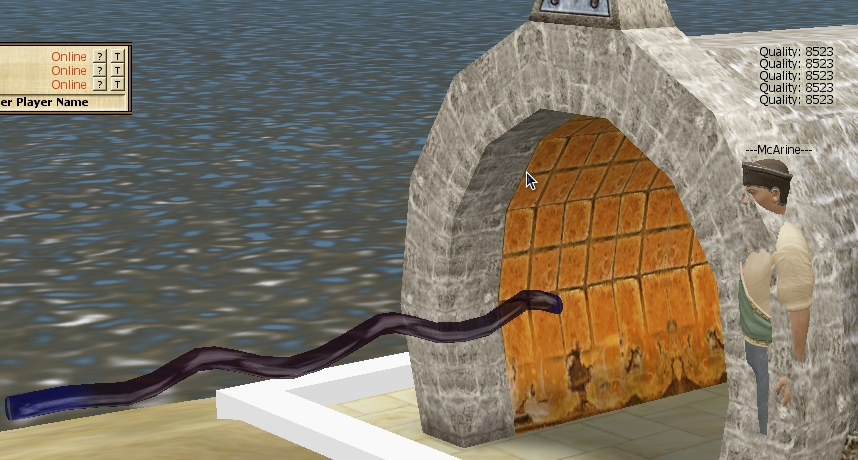
I recommend Pin Point Heat, and forget about doing the bulb, you can get great quality, with just focusing on the twist. See the images. /McArine
Wine Glass
When performing the initial heating, it's important to keep the glass spinning at a fairly constant rate. I've found that about two turns per heat tick (~1 sec) seems to work fairly well.
First you want to form the base. Move the rod in 1 click and let it heat up to yellow. Blow once and move it in one more click. When it gets yellow, blow twice. That's it for the base.
Immediately push the rod in so that the other end (what will become the mouth of the glass) is just inside the grey hotspot. Heat it up yellow and then proceed to pull the rod out and heat up 4 more sections of the rod to yellow. Move the rod back in a bit to keep the center 3 sections yellow and let the section on either side fade more to red (the mouth end will likely have already done so). Then push the rod all the way into the structure and blow 5 times.
That's it for blowing. You now rotate the glass so that anything that has sagged is now above the axis of rotation. Let it sit there until gravity pulls it closer to where it needs to be. During this stage I find it handy to check the quality frequently as I rotate it or let sag. Often you will see the quality go up as the piece droops closer to the goal and then go down as it droops past. Just rotate it above again and that should help. When you are satisfied with the quality (or time has run out), unload your beautiful new wine glass and prepare to experience faster Oenology point gain.
Don't be afraid to unload the piece before the full 60 second work time has expired. I've seen the quality of pieces drop dramatically.


